Creating punch needle rugs has been my thing lately. The slow progress, repetitive movements and tactile quality (and the fact that’s definitely not as messy as working with paint) of punch needled art has truly captivated me. I’ve done some embroidery and needle-felting before, but learning about this technique of rug making has been a whole different, exciting experience.
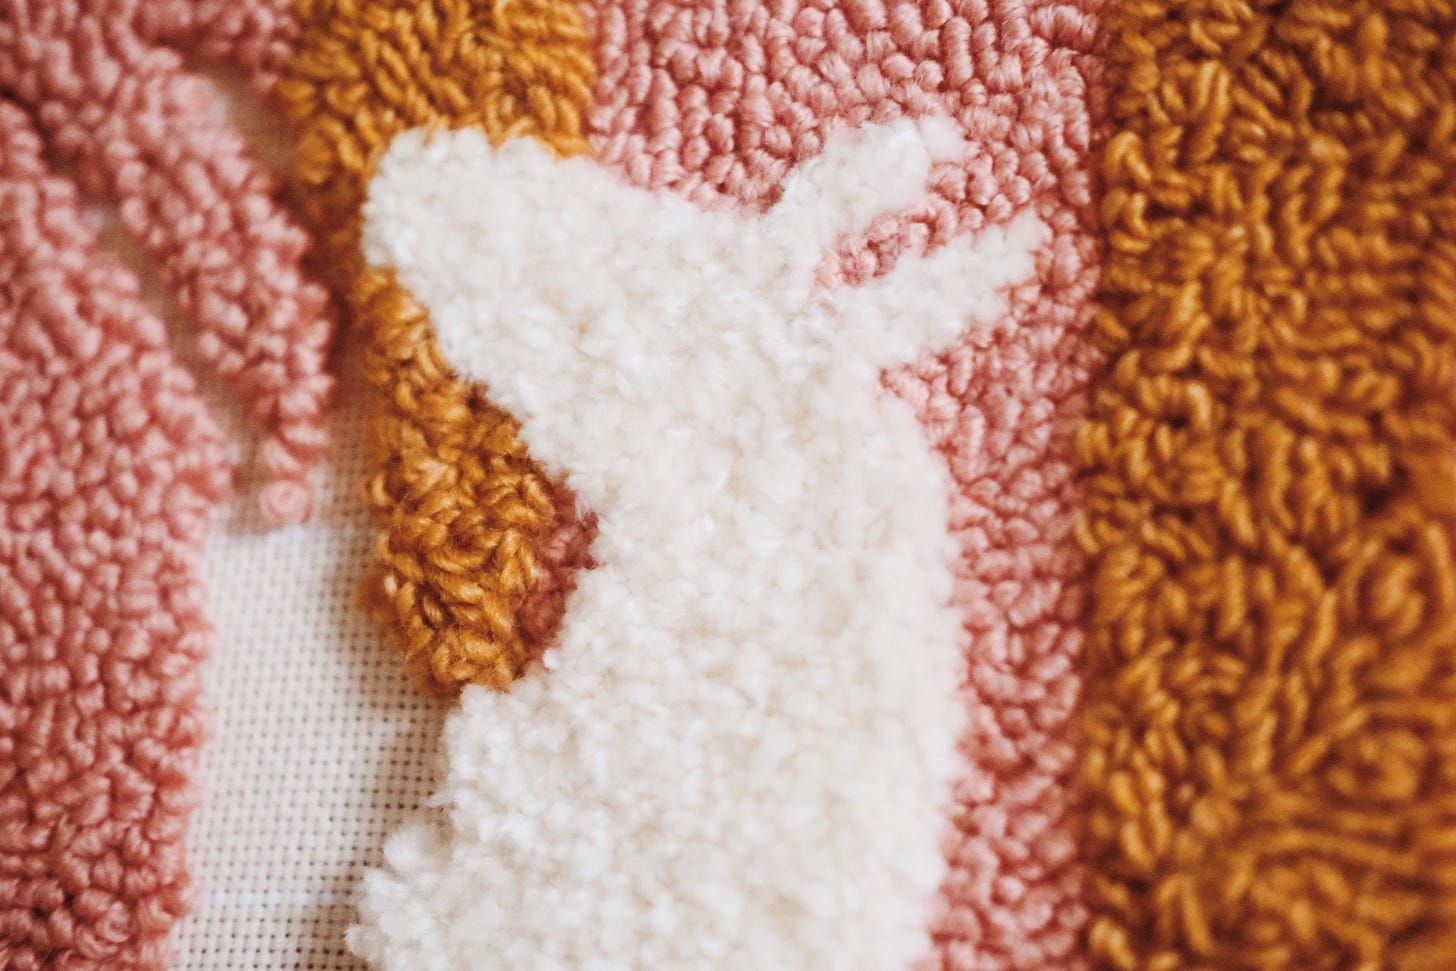
Like embroidery, punch needling is an age-old technique. A punch needle stitch is made by pushing a hollow needle with an angled tip through a weave of fabric, creating a little loop that is kept in place by friction. The technique is quite similar to the way rugs are mechanically made using a tufting gun, albeit a lot slower.
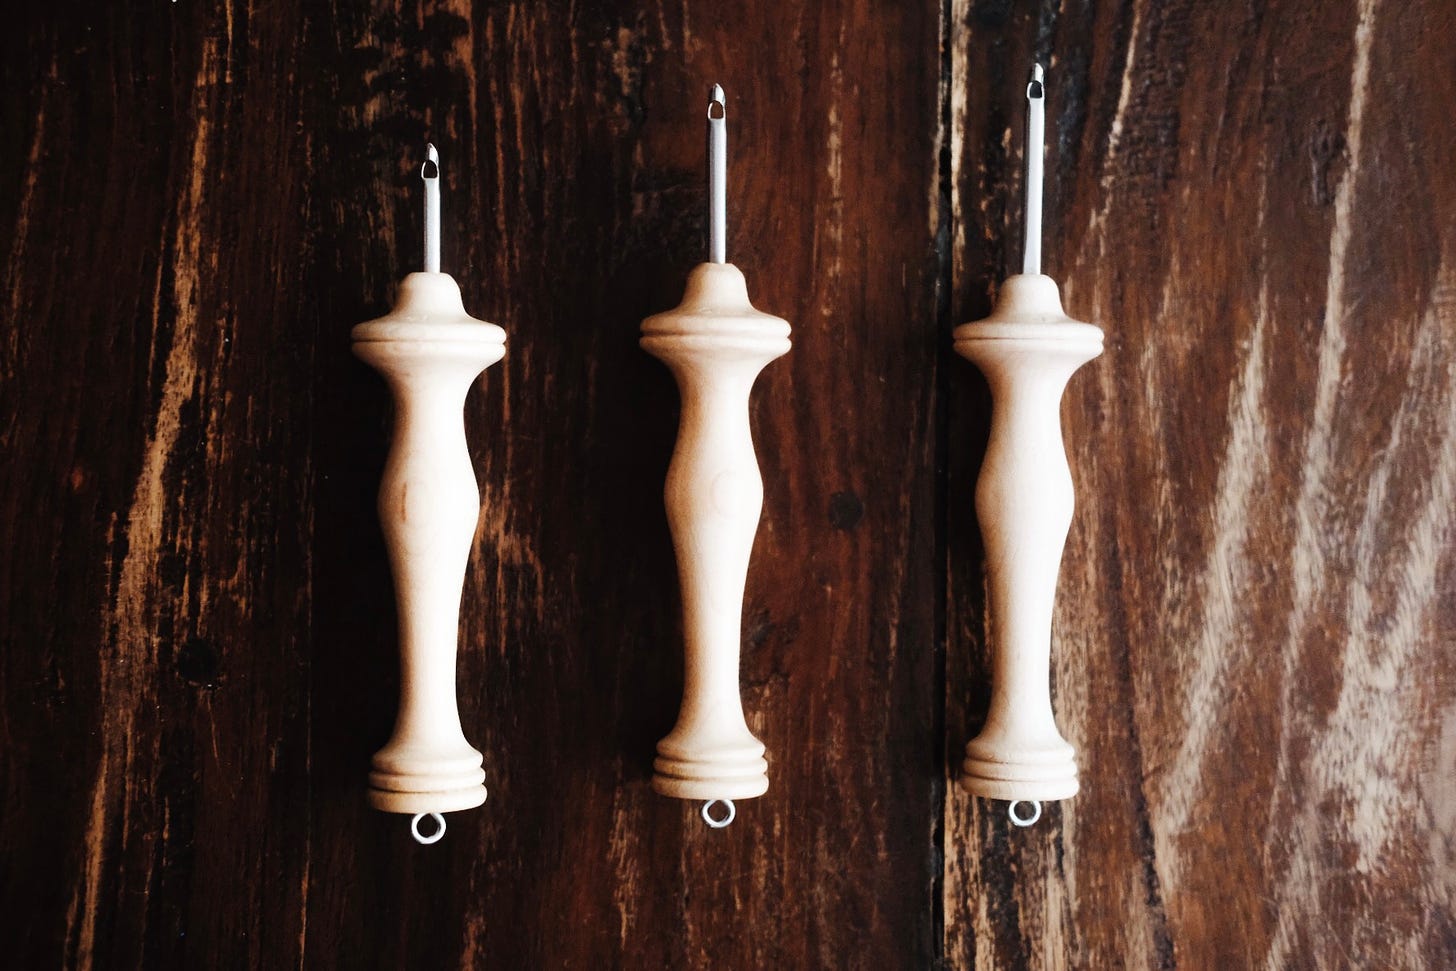
Oxford needles and monks cloth
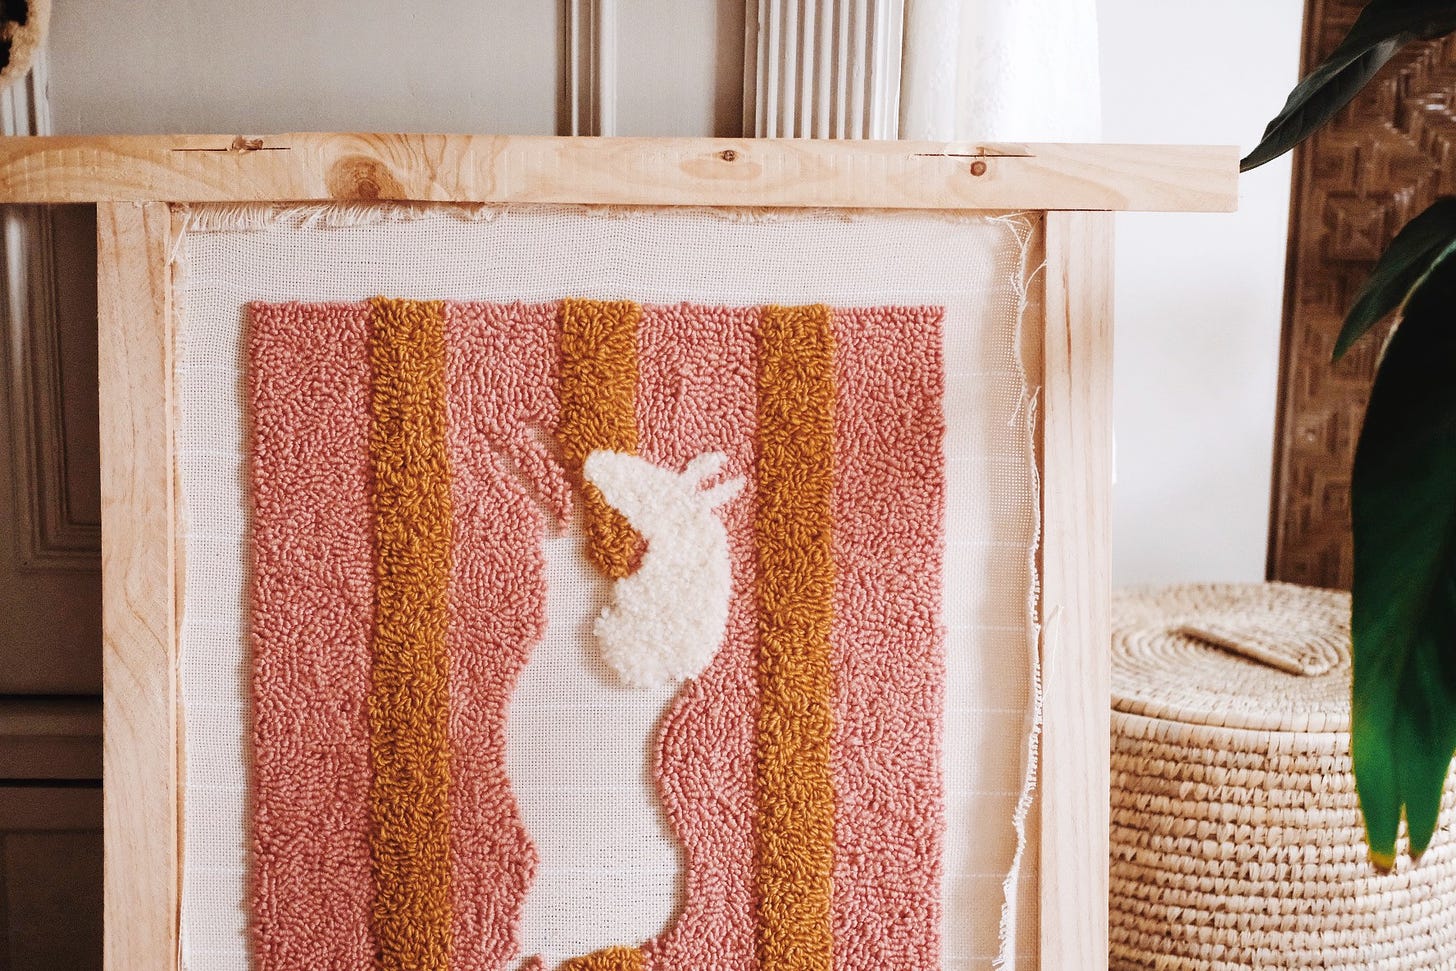
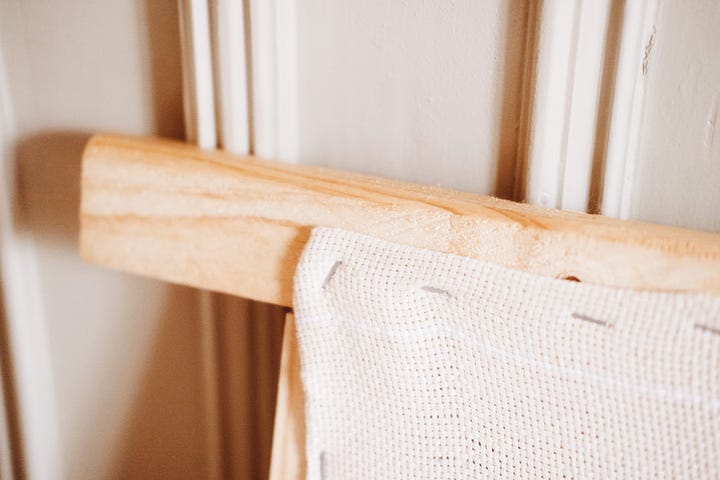
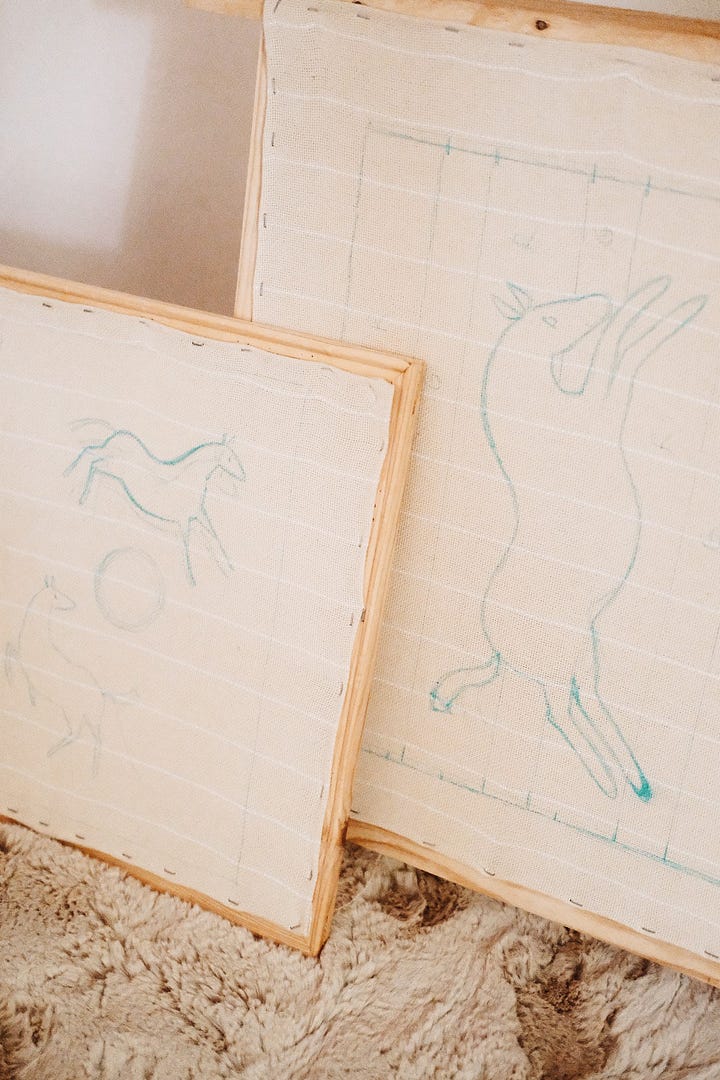
The fabric I use is cotton monks cloth, that I’ve stapled to a wooden frame. There’s different ways to tighten your fabric, including using gripper frames, but I’ve found using a staple gun works just as well. For the frame I actually use used canvas frames and even two halves of a trestle. Someday I’ll make myself a proper wooden frame with grippers, but for now my homemade frames work do the job.
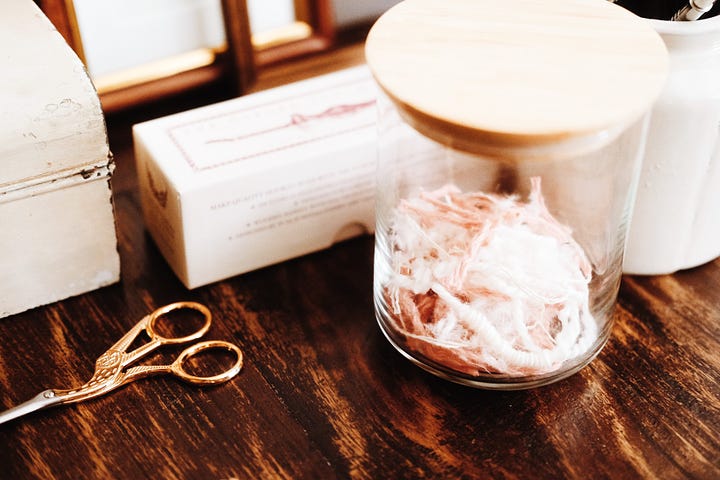
Over the past few months I’ve collected a thousand different types and colours of yarn. From big and chunky neutrals, to soft and narrow handdyed string. Each type of yarn creates a different look and feel.
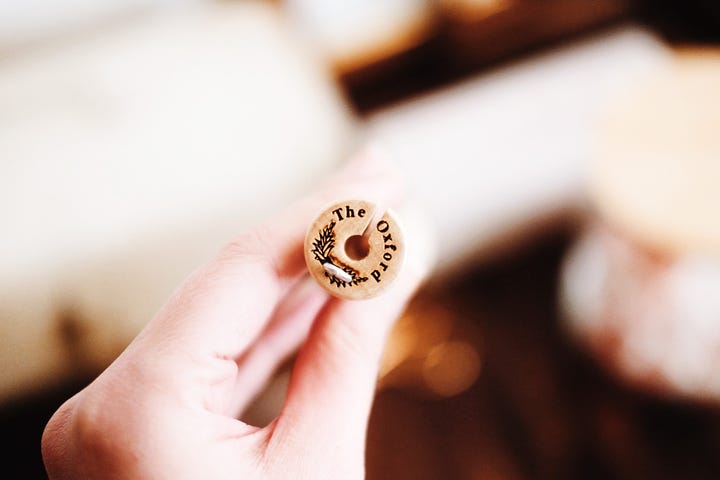
The type of needle you use influences the look of your loops as well. I’ve been using various Oxford needles, which are incredible well made, very sturdy and comfortable to hold. The size #10 fine needle has been my absolute favourite, although I’ve been loving the size #8 fine and #14 fine too. The first is awesome to use for long and fluffy loops, while the size #14 fine creates a lovely tight loop, perfect for adding in details. I’ve still got to try the regular sized needles, but as I tend to mostly work with smaller weight yarn, I’ve not really needed a thicker needle just yet.
Making a plan… or work intuitively
How does the actual process of creating a rug work? With creating a punch needle piece, there’s really no set way of doing things. You can work very intuitively, picking your yarns and choosing your needles as you go along, or you can sketch out your idea on your cloth before you start.
For my ‘pony pieces’ I create a sketch in Procreate and transferred it to the monks cloth using a water-soluble marker. Good thing to know: as with punch needling you’ll be working from the backside of the piece, your sketch will be mirrored.
I’ve made myself a little reference sheet of all the yarns I have, making it easier to pick the right weight and colour. For the piece in the photographs I used three very different yarns: an almost silky rose pink, a thin, mohair-like saffron and a simple cream. For the saffron and cream I use a #14 needle, creating slightly longer loops. To add even more texture to the piece, I’ve decided to cut the loops on the pony.
Creating an A2-sized rug like this takes quite a few hours. The thing I like so much about this craft is that there’s really no need to complete a piece in one sitting. You can just pick up your piece whenever you feel like working on it. I started this piece about two weeks ago, slowly adding to it whenever I had some time to spare.
Nearly completed
There’s a couple of pieces I’m currently working on. Most of them include ponies, but I guess that surprises nobody, hihi. The piece in these photographs is the closest to being finished. I’ve just got the pony to complete, before I can get to sealing the art using fabric glue and framing it. There’s this pretty walnut frame I have, which I think would look perfect around it! I’ll keep you posted on the final result!
With love, Janneke


